


Color sanding and buffing are crucial techniques for achieving a flawless car finish in detailing and collision repair. This process involves using specialized sandpaper and buffers with polishing compounds, preparing surfaces, removing imperfections, and delivering a high-gloss shine that protects against future damage. Essential tools include various grit sandpaper, power sanders, orbital buffers, detail sanding tools, safety gear, and quality compounds/polishes for professional results in collision centers or vehicle paint restoration projects.
Discover the art of transforming your surfaces with a professional finish through color sanding and buffing. This comprehensive guide breaks down the process into simple, manageable steps, from understanding the basics to mastering the techniques. Learn which tools and materials are essential for achieving seamless results. By following this step-by-step approach, you’ll soon be able to create smooth, vibrant finishes on a variety of surfaces, taking your DIY projects to the next level.
- Understanding Color Sanding and Buffing: The Basics
- Tools and Materials You'll Need for the Job
- Step-by-Step Guide: From Sanding to Buffing Like a Pro
Understanding Color Sanding and Buffing: The Basics

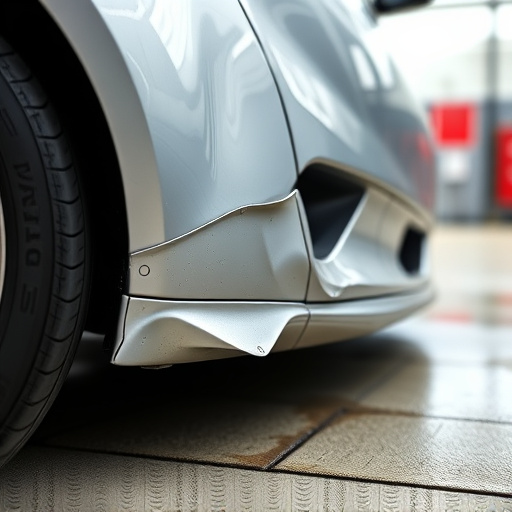
Color sanding and buffing are essential techniques in automotive detailing and collision repair centers, helping to restore car bodywork to a smooth, glossy finish. This process involves using specialized sandpaper to remove minor imperfections and then buffing the surface to achieve a high-gloss shine. By combining these methods, you can correct scratches, swirls, and other defects, enhancing the overall appearance of both new and used vehicles.
The process begins with color sanding, where fine-grit sandpaper is used to gently smooth out imperfections on the car’s exterior. This initial step prepares the surface for buffing by removing any remaining coarse marks. Once the surface is smooth, a buffer equipped with a polishing compound is used to create a deep shine, revealing a vibrant and protective finish that not only improves aesthetics but also provides protection against future damage, such as those typically seen in bumper repairs.
Tools and Materials You'll Need for the Job

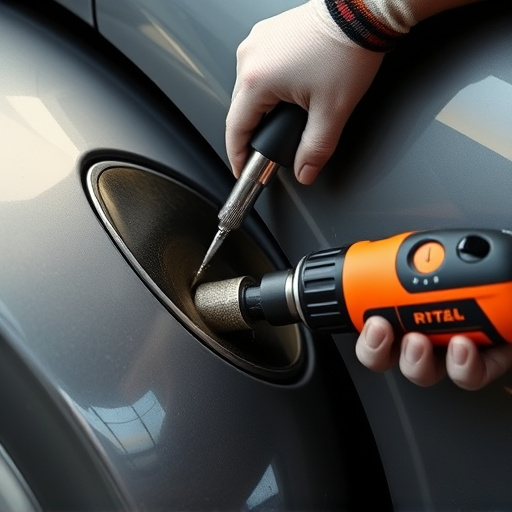
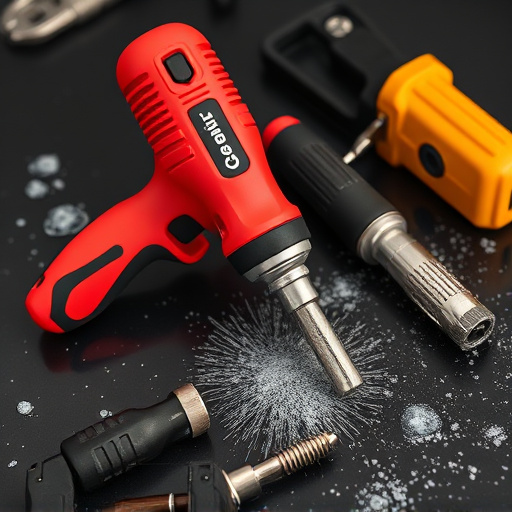
To master the art of color sanding and buffing, you’ll require a selection of specialized tools and materials designed for precision and smoothness. Begin with high-quality sandpaper in various grits, typically ranging from coarse to fine, to ensure effective shaping and smoothing of surfaces. A power sander or handheld sanding blocks are essential for efficient material removal, especially when dealing with larger areas. Don’t forget the key to a flawless finish: a top-notch buffer, whether it’s an orbital buffer or a disc sander, which will help blend sanded areas seamlessly.
For precise control and detail work, consider investing in various sanding tools like a random orbit sander or a belt sander. Additionally, you’ll need compounds and polishes to achieve the desired shine and to fill in minor imperfections. Essential safety gear includes gloves, eye protection, and a respirator to guard against airborne debris. With these tools and materials at your disposal, you’re well-prepared for the meticulous process of color sanding and buffing, whether it’s for enhancing auto collision center repairs or providing the ultimate car bodywork services.
Step-by-Step Guide: From Sanding to Buffing Like a Pro

Starting with color sanding is the first step towards achieving a flawless finish. Begin by preparing your workspace and gathering all necessary tools: sandpaper in various grits, a buffing machine or buffer (if using by hand, be prepared for some arm work), polishing compound, microfiber cloths, and protective gear. Start with coarser grits to remove any imperfections and uneven surfaces, gradually working your way up to finer grits for a smooth finish. Ensure even pressure is applied during sanding to avoid leaving marks.
Once the surface is thoroughly sanded and dust-free, it’s time to move on to buffing. Apply a small amount of polishing compound onto the buffer (or your hand if using manually) and work it into the surface in circular motions. The buffer will heat up as you continue, which helps to break down and remove any remaining scratches or imperfections. Keep applying pressure and moving in different directions until the surface is smooth, glossy, and free from any buffing marks. This meticulous process is key to achieving professional-looking color sanding and buffing results, whether for a collision center repair or vehicle paint repair project.
Color sanding and buffing are powerful techniques that can transform any surface, bringing out its natural beauty or achieving a specific aesthetic. By following this step-by-step guide, you now have the knowledge to tackle these processes with confidence. With the right tools, materials, and a bit of practice, you’ll be able to master color sanding and buffing, ensuring a smooth, glossy finish that enhances any project.